Teachers are looking for resources for online instruction. So I am reposting lessons from my Social Studies Methods Course at the University of Portland’s School of Education. See original post here.
Today’s class will focus on finding and curating historical content – in this case images. Our focus will be on sourcing material that is in public domain using our historical archive resources.
Most materials are in the public domain if they were produced before 1923. I see this as roughly equivalent to everything that happened in the world up to and including World War I! If you’re looking for newspaper articles in Chronicling America, for example, you will note that coverage ends in 1922.
Primary sources produced by the federal government are normally in the public domain both before and after the magic copyright date of 1923. That explains why we as teachers can use the fabulous oral history interviews of former slaves collected between 1936 and 1938 by workers from the Federal Writers’ Project.
Class Session
Class will open with a discussion on strategies for supporting remote learning – both in our course and our student placements.
Next, Peter will share some information on public domain and Creative Commons. He will also share strategies for searching using a selection of historical archives.
Students will then practice:
- find a historical image
- download it
- get citation information and source URL
- adding image to practice post
- include citation with active hyperlink back to source in image caption
Lastly, Peter will introduce this week’s assignment and some strategies for working with WordPress to create learning activities base on close readings of historical images.
Assignment 2
IMAGE DETECTIVE CHOICE 1: (INSPIRED BY CROP IT LESSON)
Being able to find and curate historical source material is a foundation of historical thinking. This activity merges three Instuctional goals: finding / curating historical sources, looking closely at historical sources and using WordPress tools to add images and hyperlinks. It will help students learn how to find material for future lesson design activities.
Here’s some sample student work from Fall 2019.
- find 3 historical images
- for each image: provide full image with citation in hyperlink back to source
- then add a of crop area of each image to show one of the following clues (add clue in the image caption) Tips on how to crop an image
- Put all content into a post. Give it a clever title. Include a featured image.
Possible questions:
- who or what this image is about.
- where this takes place.
- when this happened or was created.
- what is the creator’s point of view or purpose.
- something I have a question about
Example: Image with two crops

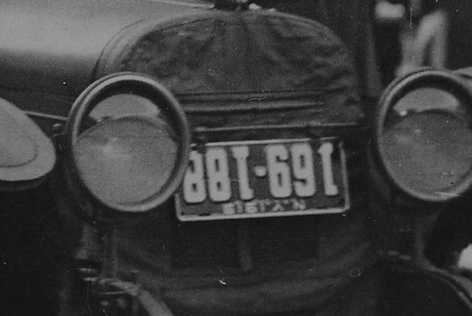
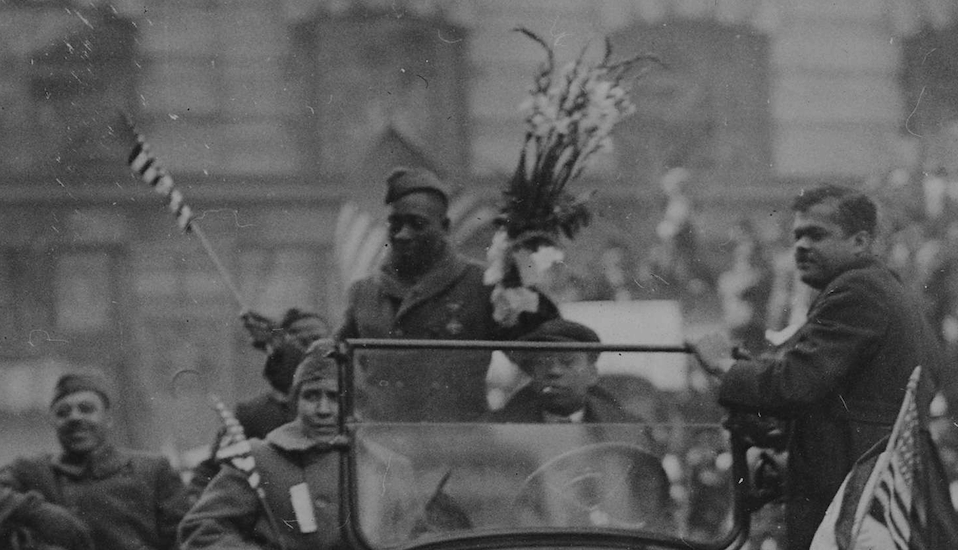
IMAGE DETECTIVE CHOICE 2: CREATE AN IMAGE COMPARE
WordPress now has a built in “Image Compare” block. Find a two suitable images to compare and use the compare to explore continuity and change.
Do the image compare for two sets of images. So you will have two separate “image compares” with guiding questions for each.
Possible questions exploring continuity and change:
- what is the same?
- what is different?
- what do the similarities and differences tell us?
- how are they explained by historical events / trends?
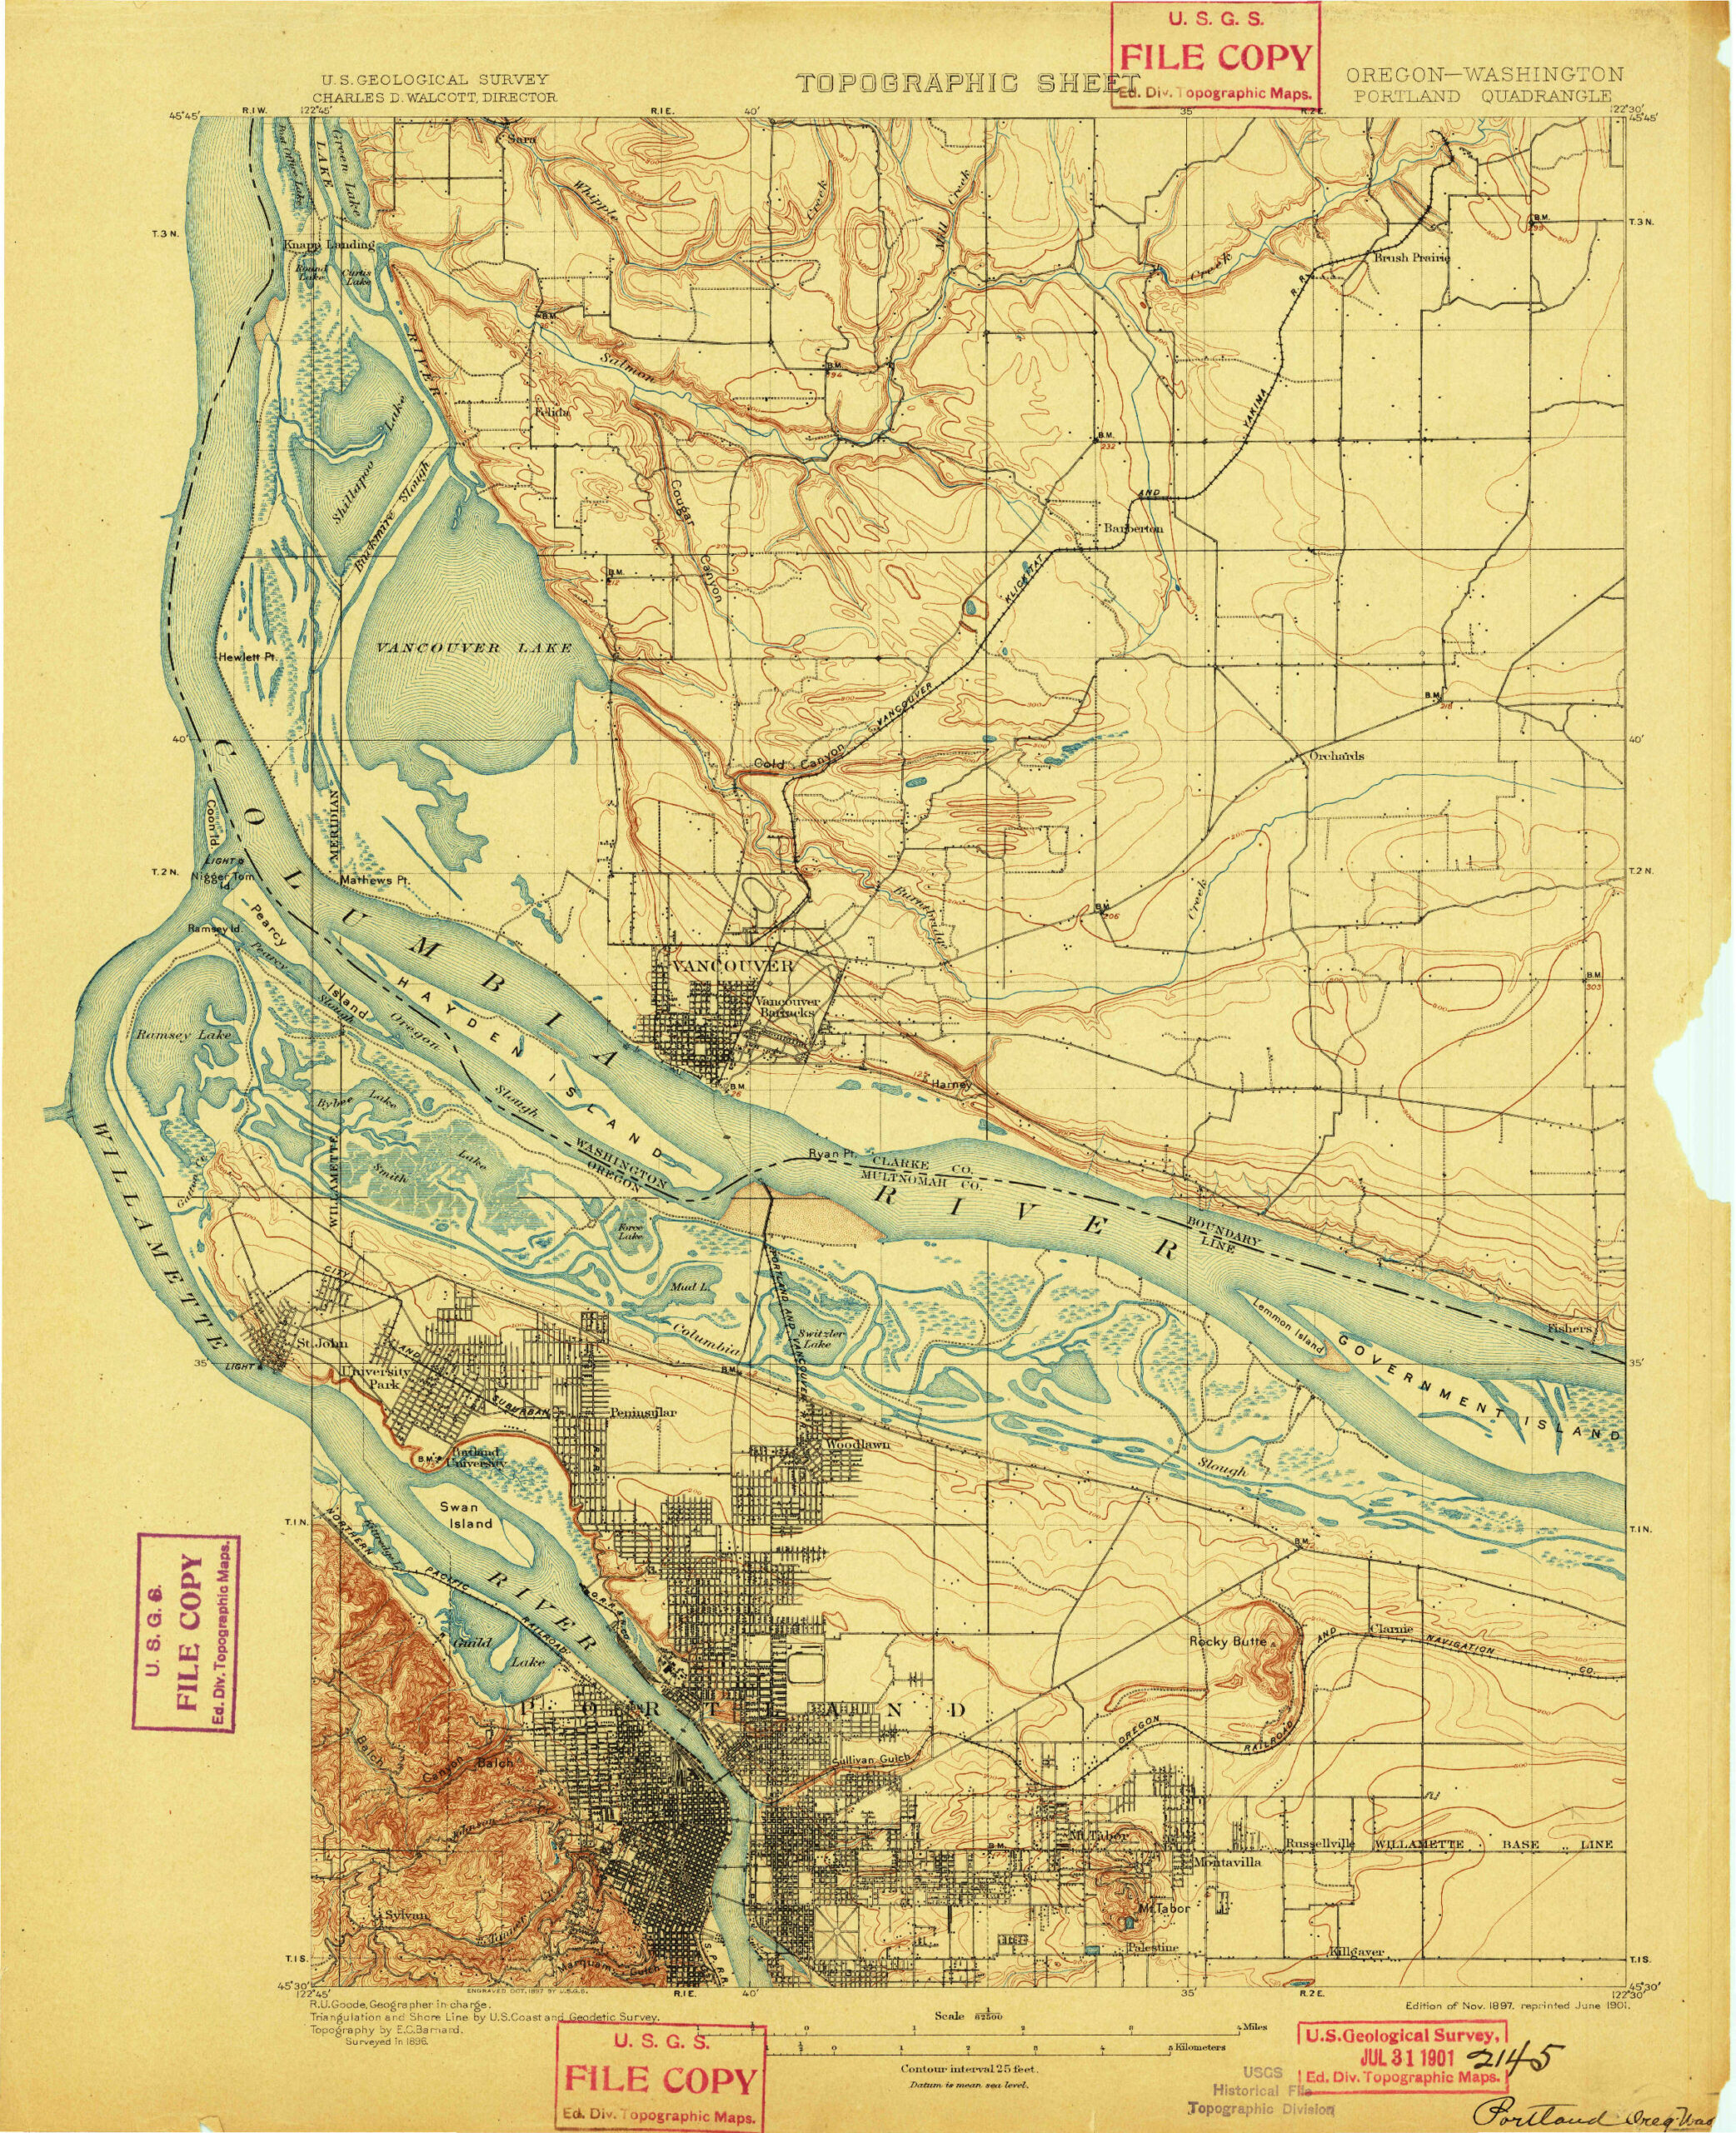

Possible questions raised by comparison:
- How has geography shaped the development of Portland?
- Why is PDX airport likely in its current location? How is that location both and asset and a liability?
- What’s the history of Vanport? How did geography intersect with race and history to cause its demise?
Resources
Note that this post uses JuxtaposeJS to create the same image compare (it was before it came to WordPress). So ignore that aspect and focus on examples of comparative images and my technique for getting best image alignment. I used Google slides in video. But same technique would work in Apple Keynote.
Here’s a video where I demonstrate how to align the images and export as image files using Google slides. Ignore the fact I was using JuxtaposeJS. I start it about a minute in.
Here’s how to get Keynote into a portrait shaped size for comparing portrait images. Set custom size to 768 width by 1024 height
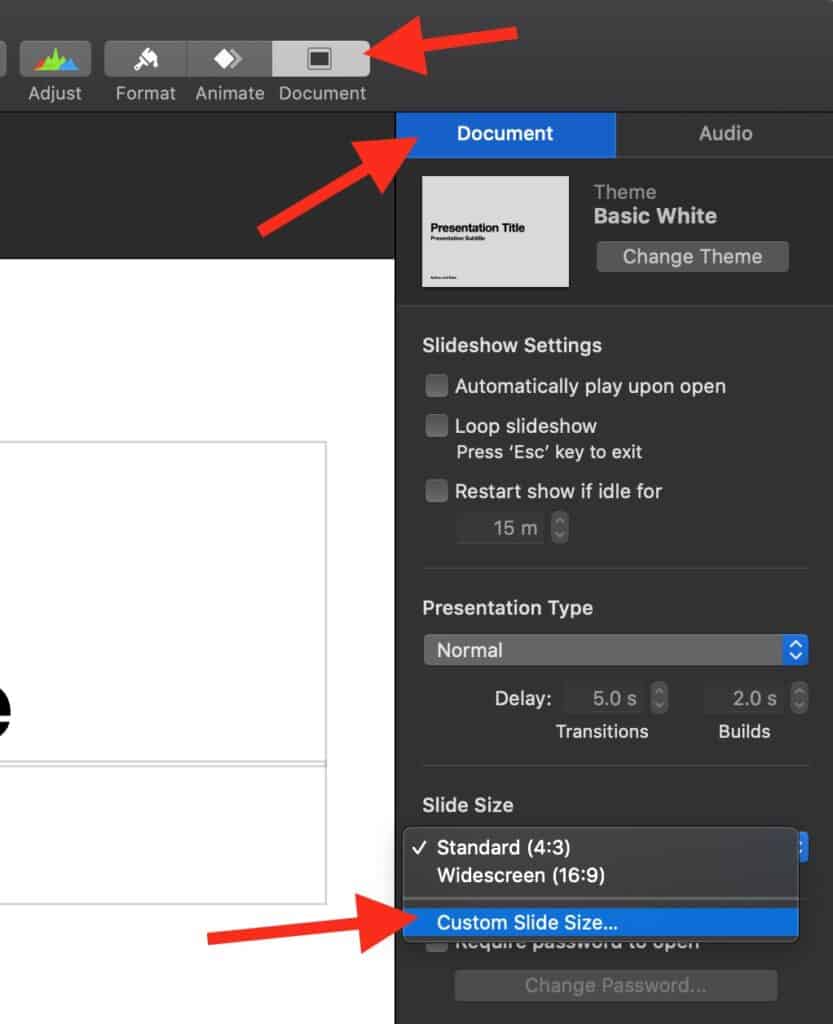
Here’s how to align images.
Click on image. Then open Format window. Click on Style. Then adjust the opacity slider to where you want it. Once you have images aligned, remove all opacity. Duplicate the slide with one image on each.

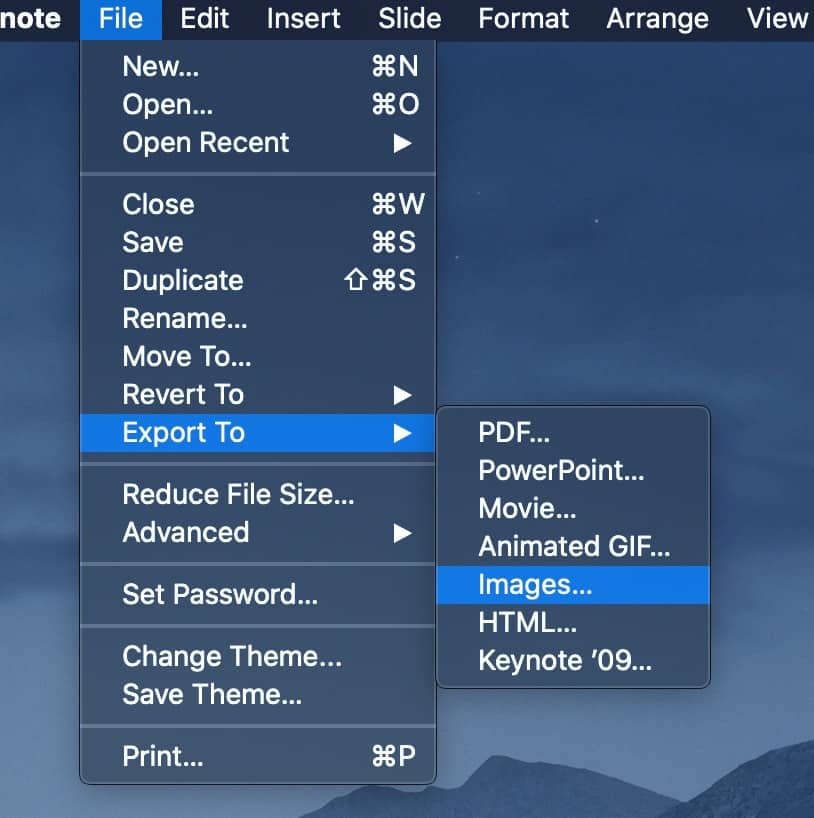
Then export the two slides as images to use in your image compare
Feature image uses photo by Clay Banks on Unsplash
