I just found out I’ve been accepted in the Apple Distinguished Educator Class of 2017. I’m very excited to network with other ADEs and promote my favorite teaching tool – iBooks Author. Once you get past the pre-required Apple Teacher Certification (ugh … I don’t use Garage Band), the ADE application has two main components – lots of forms to fill out (easy) and your application video (hard).
I thought I might share my video production workflow to demonstrate how you can turn a seemingly daunting task into something that’s very simple.
- I brainstormed a list of 3- 5 accomplishments that demonstrate why I should be consider for admission to ADE.
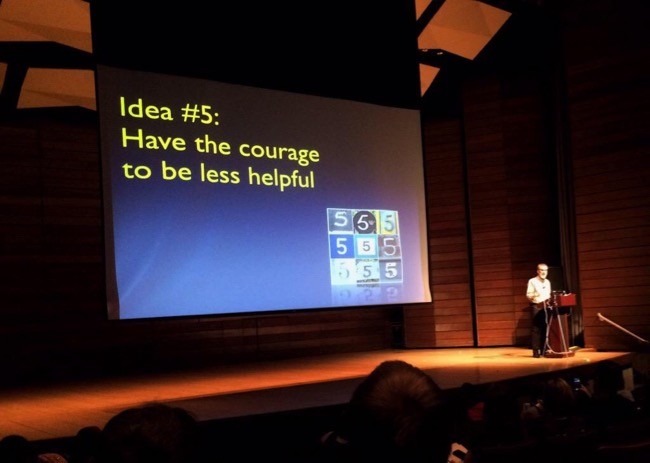
- I put each item on a Keynote slide.
- I used the Keynote “Play/record” slideshow feature to give a brief narration over the slides. (Your video can only be a maximum of 2 minutes, so this gives you a good idea of what leave out). In ended up with 9 slides in my final version.
- Once I had a sense of timing. I worked on images to illustrate each point. I used QuickTime player to create two short video clips which I embedded in one of the slides.
- I used very minimal style – solid black background and no transitions between slides.
- I practiced a few times to get the slide timing down and to be sure I could deliver the slides in under 2 minutes.
- I found a quiet spot and connected a decent external microphone to my laptop. Then I made a finished recording of the slide show. (All you can do is erase a recorded slide show and do it over. So when I got one I liked, I kept it.) It wasn’t perfect. I had a few minor hesitations, but after 4 or 5 tries I wasn’t getting much better.
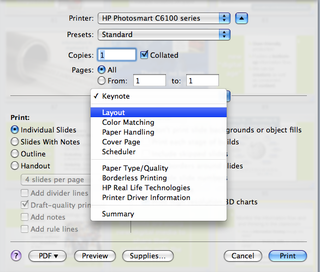
- Keynote has an export feature – “File / Export to / Quicktime.” I chose the “Custom” format and used 1024 x 768 H.264
- It produced a very nice m4v video file that I used for my ADE application.
