I’m pleased to be offering a pair of workshops in Eugene Ore this month on how to enhance instruction using visual thinking strategies. (hosts: Oregon Writers Project / STELLAR.)
In the workshops I will guide participants through practical examples of:
VTS as a model for inquiry learning
Teaching inquiry with documents
Blending visual & critical thinking with literacy
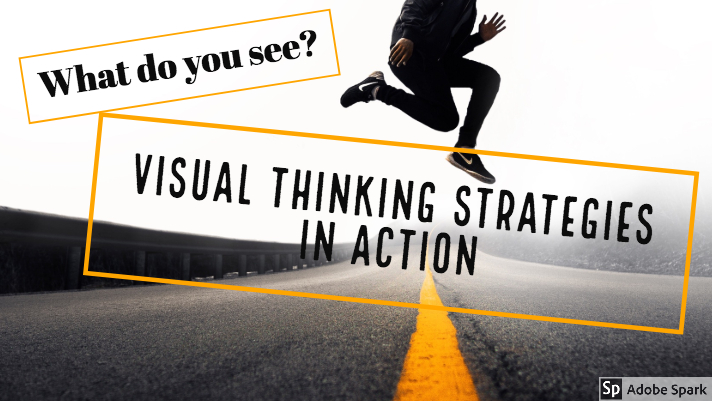
Student critical thinking skills can be activated when students are guided in close reading of visual documents. Key questions include:
I think visual literacy approach has application across the curriculum and grade levels. I’ve included a copy of the presentation handout. What do you see handout 4mb pdf
Here’s some more resources:
How I used historical images to guide students through developing summarizing skills. Link
Teacher Resource guides from the University of the Arts / Library of Congress Link
“Five Card Flickr Stories” A great tool for building and narrating visual stories. Link
“Which one does not belong” A growing collection of pattern recognition puzzles Link
I’m excited to be selected as presenter at “PressED: A WordPress and Education, Pedagogy and Research Conference on Twitter.” PressED is a global Twitter conference (#pressedconf18) looking into how WordPress is used in teaching, pedagogy and research. The focus will be on how university-based educators and their students are innovating with WordPress. See PressEdConference18: Presenters Twitter List
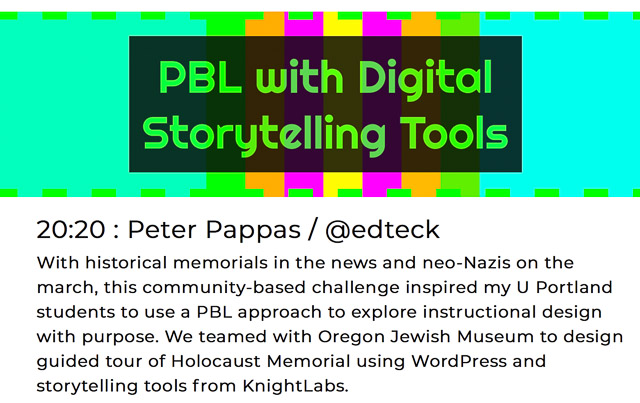
Even if you’re not interested in that specific topic – you should check out this cool way to organize a conference on Twitter. It will take place on March 29th from 10am (BST / GMT+1) to 10pm (BST / GMT+1) onwards. My session PBL with Digital Storytelling Tools will start at 12:20PM (Pacific Time).
The conference is made up of sessions. Each session at the conference is based on 10-15 tweets in a fifteen minute period. Presenters can add videos, gifs, slides, links or whatever they like to their tweets.
Submissions for sessions are closed, but you can also take part by following the hashtag (#pressedconf18) for the day – or at any time after the conference has happened. When a session finishes, there’ll be a chance to ask questions.
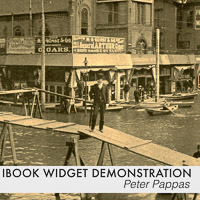
I’m pleased to be a member of the Apple Distinguished Educator Class of 2017. At next week’s Houston conference, I’m going to give an iBooks Author workshop on how to manage collaborative book design. Here’s some of what I’ll share. You can find more info at this resource site Get Started with iBooks Author
If you’ve ever worked with a group of students in a computer lab you know how much time can be lost while they explore fonts and other design elements. For greater efficiency I first guide the students through some template options while we explore sample multi-touch books. We arrived at consensus and I pre-loaded a template chapter into each work station.
iBooks Author does not presently allow for multiple users to collaborate on the same file. So when I work with students, I have them all work on individual chapters (or sections of chapters) all using the same iBA theme. They share their completed chapter file with me via shared drive. I copy / paste their chapter into one final collaborative iBA file.
Note: Glossary entries cannot be copied and pasted from one file to another. So if students plan on adding glossary to a collaborative project, that will need to be done in the final compilation file. Likewise students should not reference individual page numbers in their chapter contribution, those will change in the final compilation file.
The computer lab is for production not planning. I staged a series of assignments that all folded into the development of a finished iBook. For example, I asked students to write a blog post reflecting on what they learned from developing their chapter. That reflection later became the concluding section of their iBook chapter. By the time we were heading to the Mac lab to get started with iBA, they had their chapters finalized with all the content for their iBook chapter stored on a drive – including all image / sound / text files, citations and URLs. Students were able to copy / paste all their content into their iBook chapter in only a few hours of lab time. iBA Tip: If you don’t have a Mac / iBA station for each student, you could have a production team transfer the work of their peers into finished form.
If you’ve every worked with a group in a computer lab you know how much time can be lost while students explore fonts and other design elements. To maximize our lab time, we discussed some template options while we were looking at other sample iBooks. We arrived at consensus and I pre-loaded a template chapter into each work station.
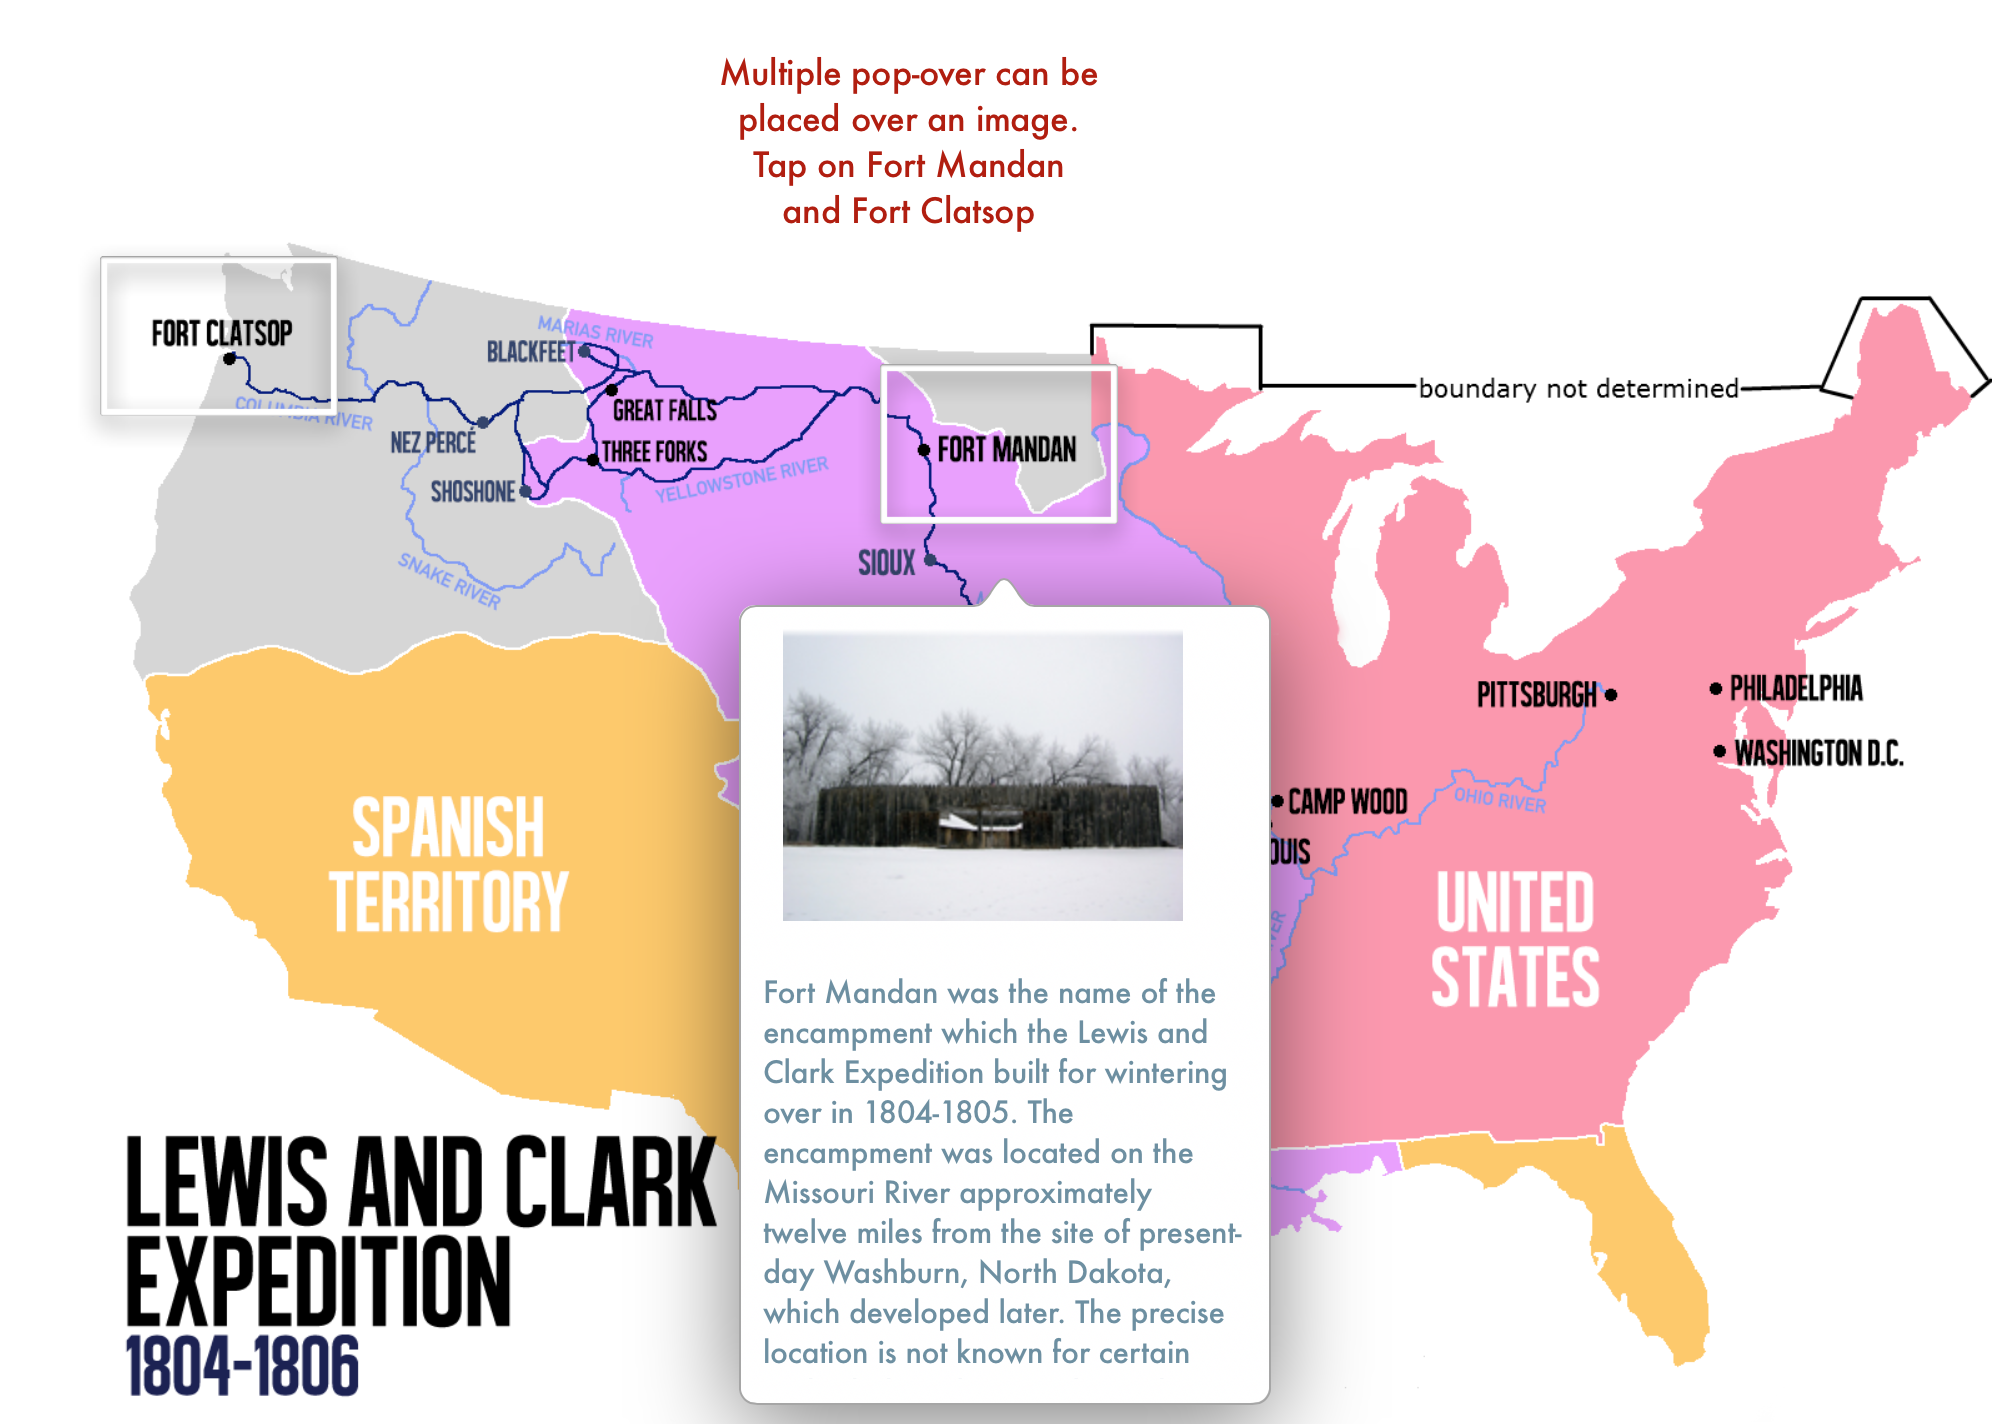
Chapters and sections of chapters can be easily re-arranged in an iBook. Just highlight them and slide to new location. You can also right click a chapter or section and cut, copy, duplicate and paste. You can even use those commands to move them between two different iBA projects that you have open. BUT moving pages is not allowed. Any new pages you add to a chapter (or section of chapter) appear at the end of the chapter (or section). That’s not a problem if you are editing flowing text. It is a problem if you are using blank pages with many objects. In that situation, you can select / all images on a page. Copy them and paste them on a new page.Fortunately images, widgets and shapes can be copied and pasted to new pages. They can even be copy / pasted from one iBA project to another.
Since it’s difficult to rearrange pages, have students create a first draft in Apple Keynote (or PPT, Google slides). They can create a rough approximation of each page and note any media that might accompany text.
One common problem for students is not messing up their chapter image. Each chapter opener has a placeholder to drag an image into on the page build. If you do that, you will see the image when you view the full page and see the image (in strangely centered display) in your Table of Contents (TOC) view.
If you delete the placeholder and simply import an image into the start of the chapter, you will see the image in the full page, but it will be missing from the TOC view. Once you have done that, I have not found a way to restore the image placeholder. (For example when working on a recent student publication, a few students deleted the placeholder and the only remedy was to rebuild the entire chapter. Grrr) If you start messing with the image in the TOC view, you will find that whatever image you insert into Ch 1 (for example) will become the image for every other chapter.
Students need to be careful entering titles of their chapters (or sections). If you click on the “Untitled” placeholder text you’ll see a blue line around it. (red arrow – right) That signifies that the chapter title will be repeated in the TOC view. If students accidentally delete that text and blue line, then any title that add will not appear in the TOC view. I tell students that the safest way to create their own chapter title is to change the title in the page view on the left. Tap on the “Untitled” and it will become active and editable. (red arrow – left). That title change will also appear on the chapter title page.
Unless you’re creating a largely text-only iBook, I find that chapters with flowing text are much more challenging to manage. Inserted widgets and images have a habit of repositioning as text is edited or deleted. Therefore I tell students to insert “Blank Pages.” That allows them to add widgets, media and text boxes with full control of the page. Note that even though the “Default” page looks blank, it isn’t. It has flowing text which will link to adjacent pages.
Remind students to clean up any of the placeholder font that iBA inserts into widgets. iTunes will not approve an iBook that contains any placeholder text. (“Lorem ipsum dolor sit amet, donec ornare vitae…”)
A great feature of iBA is the ability to copy and paste styles. It works with text, images, shapes and widgets. Those options are not part of the default toolbar. But if you right click the toolbar, you can add them to your custom toolbar.
Acceptable file formats for iBooks Author
Note that you must have the actual image file to import into iBA
Image files: JPG, JPEG, PNG, GIF Note: The recommended file format is JPG. If the image includes transparency, PNG is recommended.
Video and audio files: MP4 video files and M4A audio files. Note: For the Media widget, you can add a video file or an audio file (in a format QuickTime supports) to your book. You can convert other types of files using iMovie, QuickTime Player, or Compressor.
Keynote presentations are fully functional in iBooks Author. These presentation could have animated features through use of slide builds and transitions.
Sharing individual chapter of collaborative books. I typically have each student export their individual chapter as a PDF using iBooks Author’s built in export tool. Then we upload the PDF version of their chapter to SlideShare. Students then use Slideshare to embed a viewable version of their chapter in their final reflection post on the publishing project. See samples from our class WordPress site here. Note: While the chapters are static PDFs, it does create a showcase of their iBook chapter for viewers without Macs, iPads or iPhones. It also serves as searchable source for their individual topic.
I’m pleased to be presenting at the Devsigner Conference in Portland Ore June 27-28. As the organizers describe it
The Devsigner Conference features sessions and workshops focusing on front web design and development techniques, tips and tools. We also aim to inspire our technically inclined creative community with amazing session topics that bridge the gap between art and code. Join us June 27-28th in Portland, Oregon for our second annual celebration of Devsigners.
Confession – I’m not a dev. But I have spent years designing learning experiences. So my session is titled the Teacher’s Guide to Ed Design. (Sat 11:45am-12:30pm).
My workshop session will offer perspectives on designing engaging learning experiences that motivate students, provoke their reflections and monitor their progress as learners. It should be useful for educational content providers or anyone interested in instructional design. This post provides an overview of my session and provide links for my workshop attendees.
My key takeaways for ed designers:
Have the courage to be less helpful. Are students making choices, reflecting on decisions and sharing their thinking with an audience beyond the teacher?
Teaching is not telling. Teaching is designing learning experiences that provoke learner reflection. This happens best when lessons have a social component and an authentic audience.
Let the student be the historian.. . or scientist, mathematician, etc. Think of the art class. Would you expect to see the students passively watching the art teacher paint?
More on info on the my session’s themes and examples:
I’m offering an iBooks Author training session for faculty at the University of Portland. In our first session, Ben Kahn of UP’s ATS shot some video which he edited into these two presentations.


 Students need to be careful entering titles of their chapters (or sections). If you click on the “Untitled” placeholder text you’ll see a blue line around it. (red arrow – right) That signifies that the chapter title will be repeated in the TOC view. If students accidentally delete that text and blue line, then any title that add will not appear in the TOC view. I tell students that the safest way to create their own chapter title is to change the title in the page view on the left. Tap on the “Untitled” and it will become active and editable. (red arrow – left). That title change will also appear on the chapter title page.
 A great feature of iBA is the ability to copy and paste styles. It works with text, images, shapes and widgets. Those options are not part of the default toolbar. But if you right click the toolbar, you can add them to your custom toolbar.