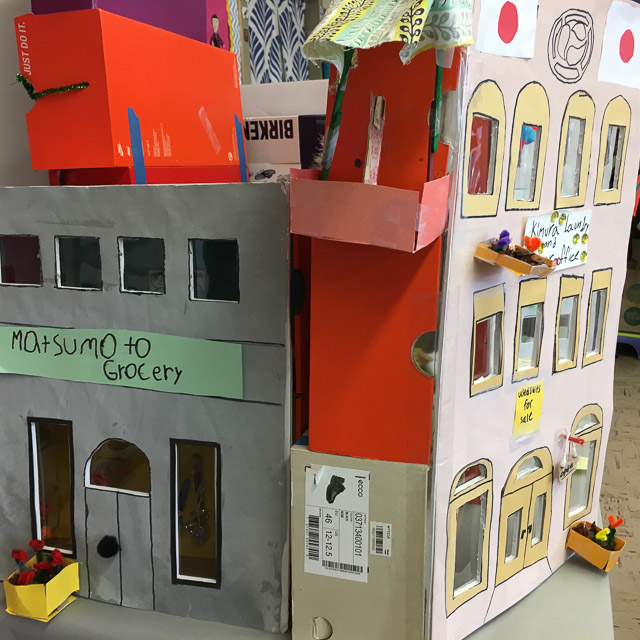
My University of Portland students recently completed a PBL project, designing curriculum for the Oregon Holocaust Memorial. More here.
We designed resources to enhance the visitor experience to the Memorial. Two of my students used different online StoryMap tools that invite a comparison. Both are easy to use and do a good job of pairing content with location. The added feature of KnightLab’s StoryMapJS is that it has a built in timeline.
KnightLabs StoryMapJS
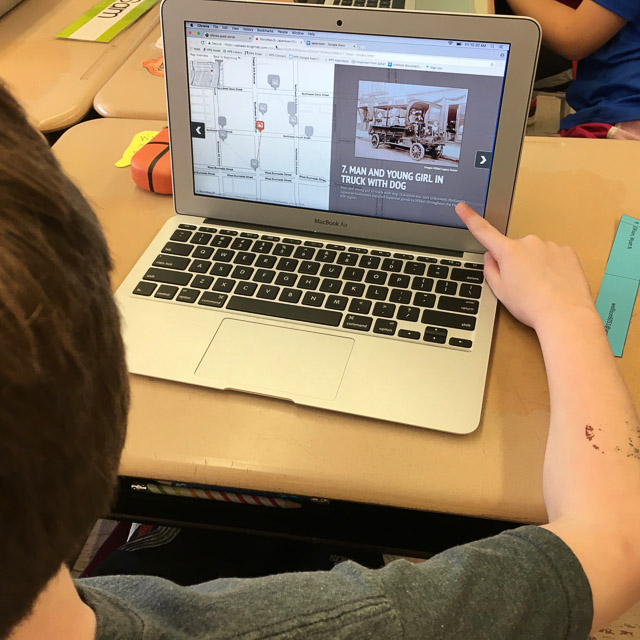
David Grabin used KnightLab’s StoryMapJS to tell the story of Menachem “Manny” Taiblum a Holocaust survivor who escaped the Warsaw ghetto, fought alongside the Polish resistance, resettled to Palestine, moved to Brazil, then to New York City and eventually settled in Portland, Oregon.
David writes: I downloaded pictures from websites like Wikicommons and Flickr. These sites have photos that are within the public domain and have usage rights that permit them being re-published. Even though they are public domain, I made sure to cite them if the author requested it. I picked points on a world map that approximated stops on Manny’s journey, and in each location I added an image and blurb containing excerpts and paraphrased info from his interview. After editing the final product, the project was ready to be added to the website. Direct link to map
ArcGIS StoryMap
Nancy Guidry choose ArcGIS Story Map. It’s built into ArcGIS, a leading mapping and GIS platform. It’s available to anyone with a ArcGIS account, but you can also sign up for a free non-commercial ArcGIS public account or sign in with your Facebook or Google credentials. The site provides a variety of templates to showcase different types of stories. Once you have an account, you will get a “My Stories” page to manage your maps.
Nancy writes: I used ArcGIS Story Maps to create this map of concentration camps throughout Europe. I used data provided by the Oregon Jewish Museum to input location and death data for each camp, and found photos from each camp online. The embedded version does not look as nice as the original; click here for a direct link.
Image source: Couleur / Pixabay