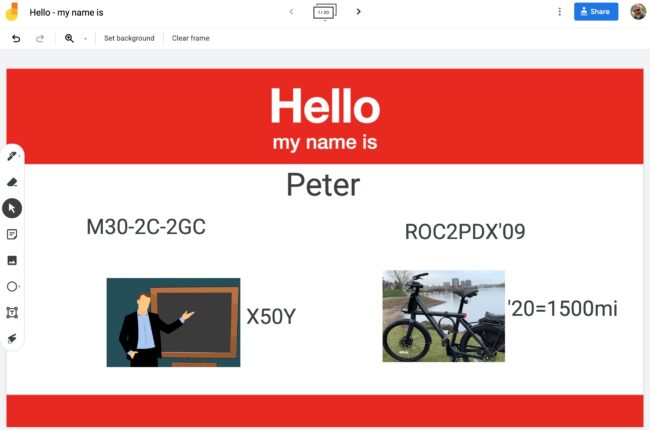
I teach two courses in the School of Education at the University of Portland – a social studies methods class in the fall and an ed tech methods class in the spring. Content differs, but the approach is the same.
This spring, the COVID-19 pandemic hit and mid course I made the transition to online without missing a beat. Here’s two elements that made the “live-to-online” transition possible. They were core principles when the course was taught face-to-face and they were even more critical when we moved fully online.
- We utilized a student centered, project-based approach. Students are doers – actively engaged in design, implementation, presentation and reflection.
- The course was organized around a WordPress (WP) site that created a public forum where the students and I posted all our work. This changes the typical class dynamic from students doing work for the teacher to a class where students sharing their learning with the world.
Teaching Online: Course Website
Let’s take a look at the website – I’ll begin with social studies methods class. Here’s a quick look at layout – basic features and navigation from the public viewers’ point of view. With a few minor changes it will support online teaching this coming fall.
Teaching Historical Thinking Skills / PBL Online
In this video I share few lessons from Social Studies Methods class to show sequence and scaffolding to support the our project-based learning approach. I want my students to continually explore the frontier of what they know and don’t know about themselves as learners. So I start with some easy tasks and I become less helpful as they learn to increasingly figure things out themselves. You can go directly to both lessons here: Class 2: Curating Historical Content and Class 3: Historical Thinking Skills.
Harnessing Student Creativity Online
The four key components to any lesson are: content, process, product and evaluation. In the traditional classroom, the teacher defines the scope of each of these components. A student centered approach means they can make some choices. With the proper scaffolding, students can tap into their own creativity as they define the scope of some of the lesson components. This video show how I open the door to harnessing student creativity. It focuses on a lesson from my spring ed tech methods class: Class 7: Where I’m From: Telling Digital Stories.
Leveraging WordPress as a Learning Management System
Most Learning Management Systems (LMS) are closed silos of content. I want a public facing course that forces me to reveal my teaching to the world and inspires students to do the same. I never do any direct instruction on WP – but rely on a library of videos I’ve creative to teach students WP basics – and we add skills along the way.
This video will give you a look at the WP dashboard from my edtech methods class and some of the native features that a great for managing your course.
Note: I also want to put in a plug for Reclaim Hosting – where these courses are hosted. It’s a fantastic service designed by and for educators that offers teachers and students domains and web hosting that they own and control. They have very affordable plans and their support teams will answer your questions in language you can understand.
To close, I’ll share some comments from students that attest
to the success of our approach:
Student in Spring 2020 Edtech class
“Professor Pappas ran the course very smoothly and had no problems when we had to transition to online learning. I liked that we were able to use lots of creativity in this class, it was super fun to see what everyone came up with. The assignments were manageable and insightful. I thoroughly enjoyed the website that we used throughout the whole course. It was easy to navigate and I liked that everything was in one place!”
Student in Fall 2019 Social Studies Methods class
“At first I wasn’t sure whether or not I would like the project based atmosphere of this class, but it pushed me to synthesize the content that we were learning about. I learned a lot about how to deliver a lesson to a class as well as I got lots of inspiration and content to use in my own classroom as well, which has been well received by my students. Peter does a really good job of guiding his students to do their best. I didn’t realize how beneficial my portfolio of blog posts would be as well.”
Email from a former student who had just landed her first teaching job
“The school I will be teaching at prides themselves on their use of technology in the classroom and asked me about my background in technology. I sent them my author’s link to all the projects I did with your – and they were very impressed. Your class was probably one of my favorites at UP because it was so practical, collaborative, and student centered.”
Like this:
Like Loading...


