
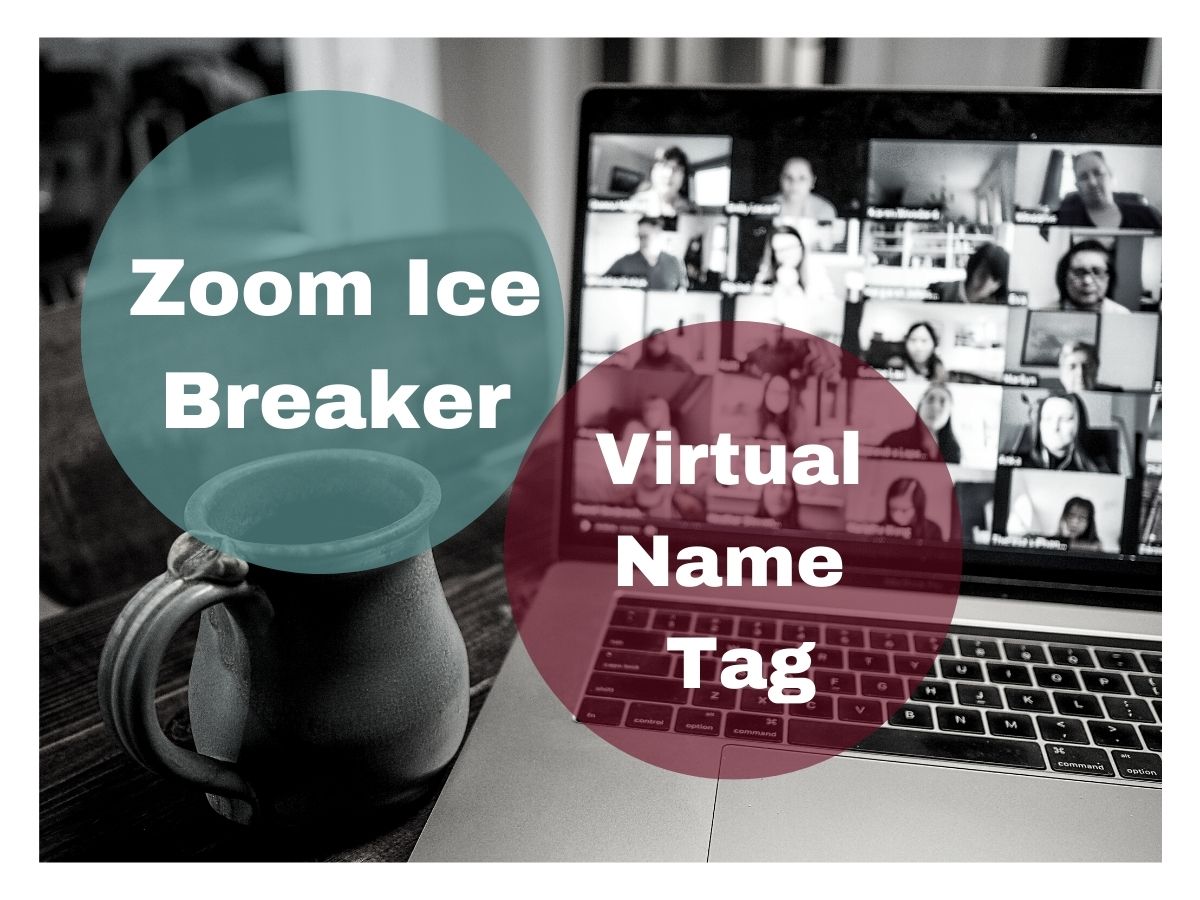
I recently ran a edcamp style morning session for our incoming MATs at the University of Portland’s School of Education. Our session goals:
- Provide a framework for students to explore ed tech in small project-based learning teams
- Model a student centered learning space that takes the instructor out of center stage.
- Reinforce that ed tech tools are more than bright shiny objects – they are a tools to inspire your student to investigate, collaborate, create, drive change and take action.
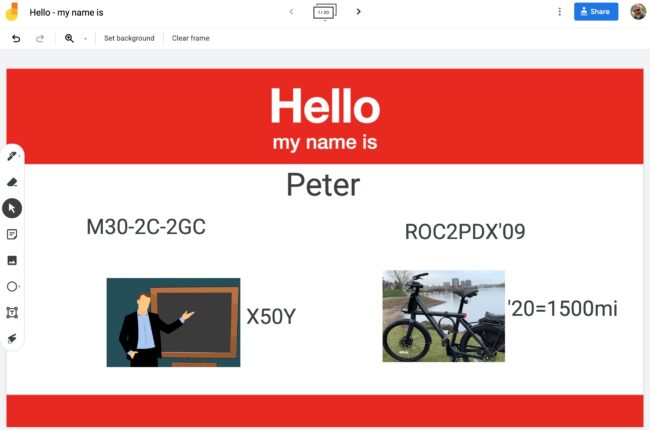
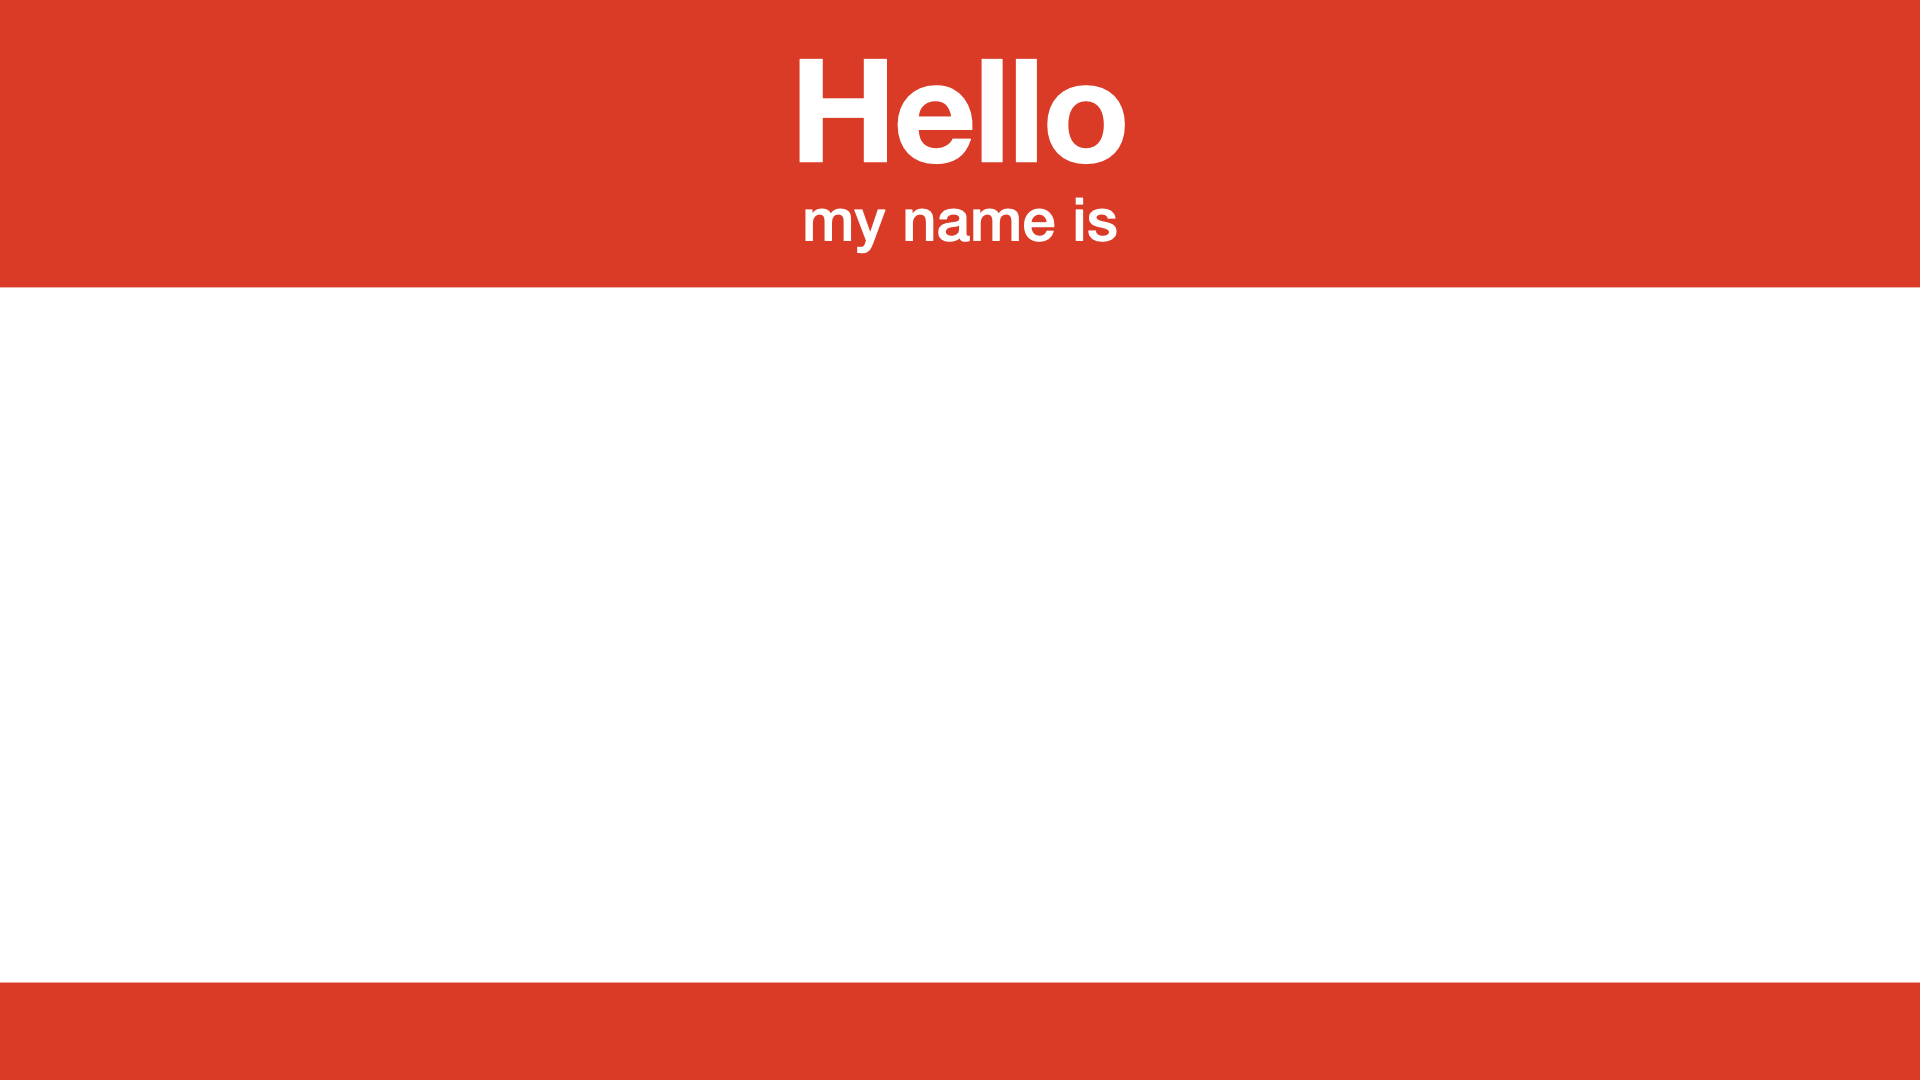
In advance, I created a Google site – “Pandemic Teachers’ Toolkit” that profiled ten free (or freemium) edtech apps. Each app page included a brief overview, how to log in, samples of the app in action, a how-to video on using the app, and instruction on how to get a sample project from the app to a Padlet showcase. The apps were numbered 1-10.
On the morning of the session, I logged in 42 students and I opened with a brief intro and an overview of the morning’s activities. I did a short presentation on the apps using Keynote with some screen shots that highlighted each app and what it could do. I then used Zoom’s built-in breakout group tool to create random groups of four students each. Each breakout group was assigned to explore their corresponding numbered app. The suggestion was for each student in the breakout group to explore the assigned app in parallel fashion and offer help to each other as needed. When they completed a product with the app they posted it to the corresponding Padlet along with comments on working with the app.
As Zoom host I was able to drop in and out of breakout groups offering support as needed. If anyone had a question they could message me via Zoom. After about 30 minutes of work time we all got back together and shared observations. For example – you can’t be in Zoom and Flipgrid simultaneously – the are both fighting over your camera. (Why didn’t I think of that?)
Then we repeated the process and I created 10 new random teams. Some student found themselves back at the same app. So they did not agree to join that group. I was quickly able to see that and assign them to a new group. Students spent about another half hour exploring the second app. They again posted their work and observation to the corresponding Padlet.
I should note that their app-posts were very clever and creative. And their comments were spot on. As a closer, I provided a Google Form exit ticket. Their responses demonstrated that they saw the experience as very valuable and that it achieved it’s goals.
Here’s a two of the exit questions and student responses.
What’s one thing you learned about yourself today?
- I learned that I enjoy exploring new technology when it is explained well enough.
- I love working on my own! It is my first choice when it comes to work options. However, I did need my partners at times so I’m glad they were there to help me!
- I really enjoy meeting new folks outside my cohort! And I’ve become much more comfortable with online teaching over the summer term.
- I am better at navigating new apps than I thought I would be.
- I need to try something before I understand it, so I appreciated the time to do so.
- I enjoy playing around with the different tools within an app to help me understand the best use of my creativity and instruction.
- I learned that I’m actually a pretty quick learner with these different platforms, which makes me feel better going forward into the school year next year!
- I liked being able to figure out to use the tools. I always find it more engaging to learn by doing instead of being told how to do things.
What’s one thing you learned about edtech today?
- These things are free! And a lot of it is integrated with programs I already use. Great stuff!
- I have a lot more free, realistic options available to me than I knew about before this morning.
- I had heard of some of these online resources before but hadn’t used most of them – this was a cool opportunity to learn how to use these resources, I’ll definitely be incorporating some into my class.
- How user-friendly most of the apps are….I was pleasantly surprised.
- There are far more resources than I would’ve thought. They were all a lot easier to use than I would’ve thought, too! For someone who struggles with technology, they were surprisingly user friendly.
- So many other options for distance learning! I’ll be spending some time just playing around with these apps/sites.
- There are a variety of accessible edtech tools that I was previously unaware of that could make remote teaching more engaging.

